
Going MEDIEVAL in UE4
Sourav Kumar walks us through how he created his submission for the Legend of King Arthur Artstation Challenge. In this article he covers topics such as his process for blocking out a powerful composition, creating fantastic trim sheets and sculpting unique props.
INTRODUCTION
Hello! I’m Sourav. I am 27 years old and I am from India. In 2012 I attended the Maya Academy of Advanced Cinematics in my Hometown, Patna, where I received a Bachelors's Degree in 3D Animation and Visual Effects. For the past three years I have been working in this industry. I started as a Prop Artist and am currently working as an Environment Artist. I have worked on Overkill’s The Walking Dead, Forza Horizon 4 and a couple of unreleased projects.
This was the second time I participated in the Artstation challenge. In the first challenge, I was not confident in creating environment artwork so I took part in the prop challenge. But this time I wanted to put all my excuses aside and challenge myself, so I joined the environment challenge. After seeing lots of amazing artwork, I decided to make this beautiful concept by Cmy Cai. While creating artwork I always try to implement my creativity and thoughts besides of original concept. And since I knew that a lot of participants were going to pick the same artwork, so I wanted to make something different from others.
My initial thought was the level should be playable and second, it should look beautiful. One major issue was the centre area of the market. In the concept the centre part is covered by people so I had to find a way to balance that area. I then started gathering references and making a mood board. I took most of my inspiration from The Witcher 3 and A Plague Tale: Innocence.
REFERENCE BREAKDOWN

I divided my environment into three major parts; the foreground, midground, and background. I was a little nervous about the backdrop as it looked big and dense. For the trees, my initial thought was to use imposters (replacing entire models with a simple flat image on a plane). I was worried about how my PC would handle this huge scene.

Separation of Foreground, Midground and Background
MODELLING
I started blocking out the buildings and main shapes in Autodesk Maya. The idea here is to keep the primitives and extremely simple geometry. During this stage I planned how big this environment was going to be and the constructions of the streets. I finally came up with the idea of a kings statue to fill the centre space.

Blockout in Maya
After the blockout I started construction of modular buildings and placing them in the engine. I also did basic landscape sculpting in Unreal Engine 4.

Blockout in Engine with Modular Buildings
There are a few things I kept in mind during the modelling stage. First was breaking the silhouette and since I was planning to use tileable textures for the wood I gave them a chamfer on edges where needed and weighted the vertex to fix the shading issue.


MARKET PROPS
Here’s a few basket models. They are the same model using two different tileable textures.

Basket Models
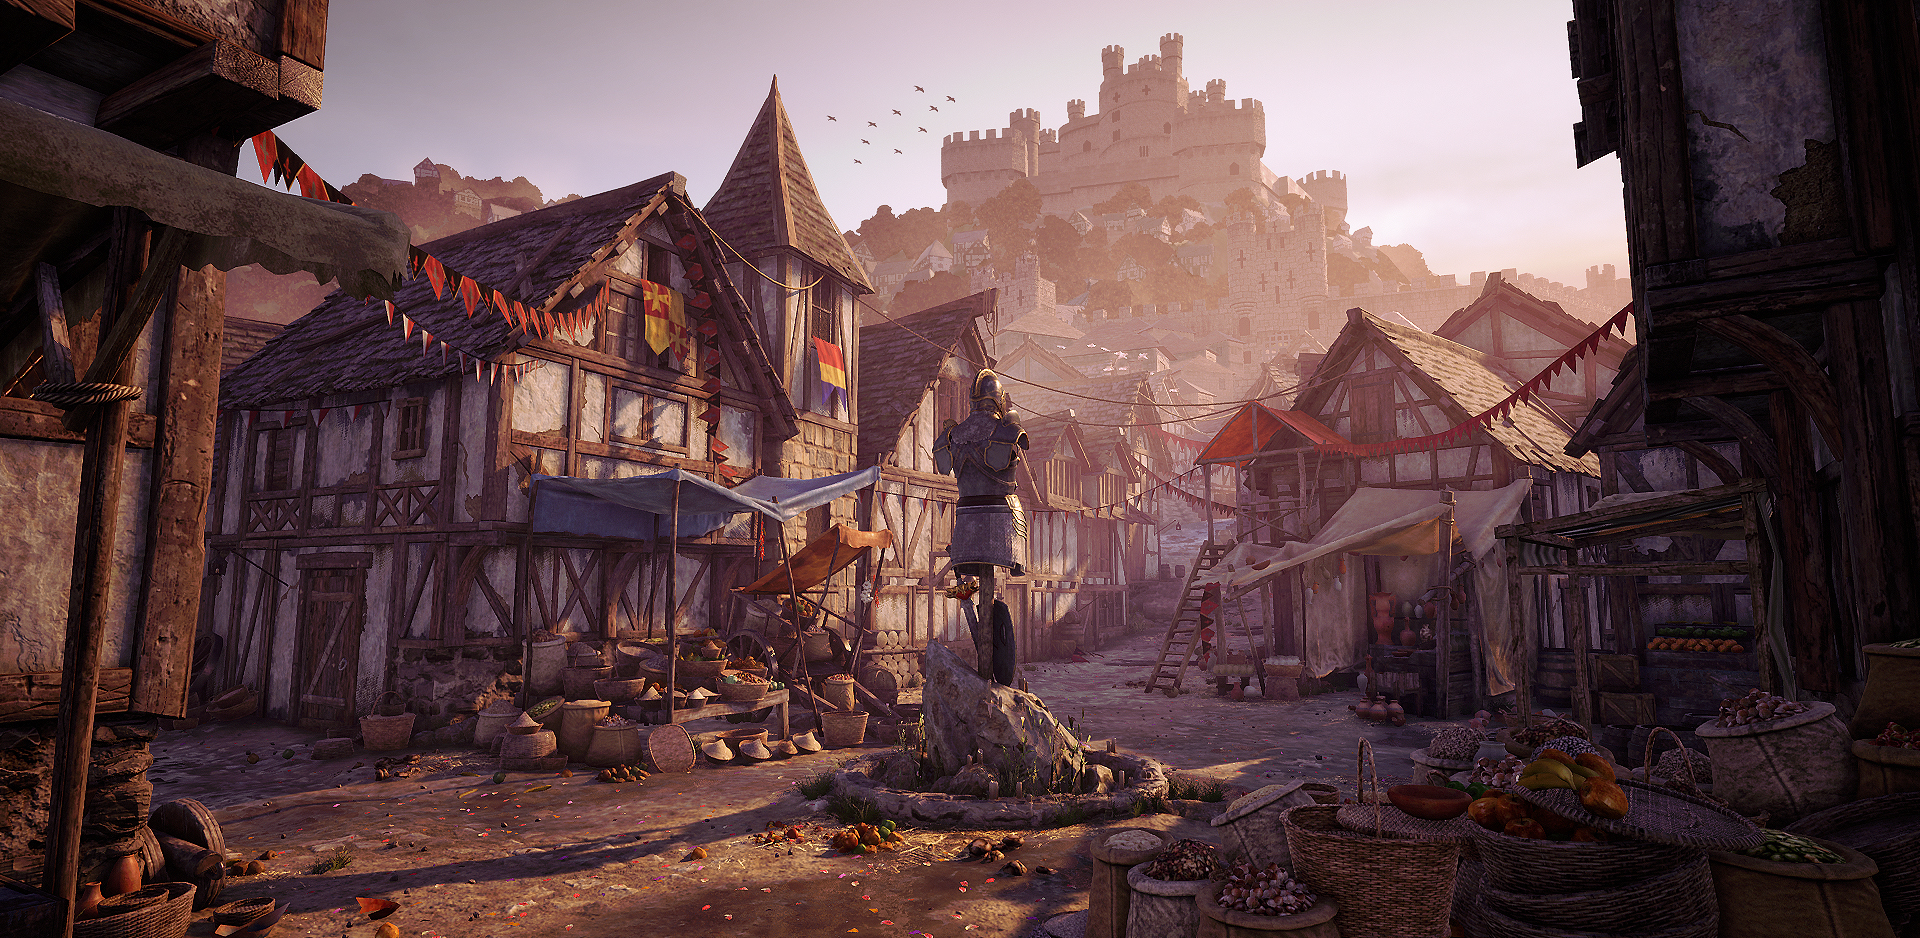
I did a quick ZBrush on one small and large sack. I then created two textures for the sacks.
Sack Models
I created simple shaped vases and pots. Also I created some broken pieces for scattering. I applied four different colour textures to the same models for variations.

Vase Variations
Here are other props.

Food Item Models
OTHER PROPS
I created the cloth simulations in Marvelous Designer.

Cloth Simulation Models
The castle was made with simple box shapes with black colour applied to windows as it was very far away.

Castle Models
Some of these props use tileable wood textures and some unique. For backdrop trees I was planning on using imposters but it did not give me the desired depth so I created a basic tree in SpeedTree to scatter on the mountain. I then made two colour variations of the tree.

Other Props and Tree Model
THE KING’S STATUE
After a couple of designs I ended up with this design.

Design for the King’s Statue

Sculpting Process
Other ideas and helmet reference.

Idea Variations and Reference for the King’s Statue
TEXTURING WITH SUBSTANCE DESIGNER
I was studying Substance Designer for quite some time so I thought this project would be good for some more exploration in Substance Designer. Here are a few material breakdowns.
Here are the Tudor house walls.

Tudor House Walls Breakdown
Here are the stone walls.

Stone Walls Breakdown
Here are the roof tiles.

Roof Tiles Breakdown
Here is the ground.

Ground Texture Breakdown
Here are some other materials.

Other Materials such as Wood, Banners and Foods
SUBSTANCE PAINTER BREAKDOWN

Textured King’s Statue

Base Colour, Colour Variations, Weathering, Colour Tweak / Edge Treatment

Base Colour, Dirt, Edge Highlight / Scratches, Substance Painter Preview
GROUND BREAKDOWN
I have used a 3-way blend texture shader along with puddle and parallax occlusion mapping. I used a POM shader made by CG_Spartans.

Texture Blending Example on the Ground
Texture Blend Visualisation

Material Parameters
UNREAL ENGINE MATERIALS
With the help of the UE4 documentation and online tutorials, I managed to make some materials for my scene. Here is a breakdown of a few materials. A big thanks to all of them and keep making useful content for the community.

Subsurface Shader

Decal & Grass Shader

Sky Dome

Fog Cards
HOUSE BREAKDOWN

Tileable Texture, Vertex Colour Painting, Leaks & Damage Decals
BACKDROP

UE4 Landscape / Tileable Texture, Added Castle

Foliage Painted / Fog Cards, Final
UE4 SCENE SETUP


Base Ground & Sky Dome, Houses Placed

Ground Vertex Colour Painted, Shops & Statue

Props Populated, Scattered Props & Grass Placed
LIGHTING IN UE4
I used dynamic lights for my scene. Here is my process.


Directional Light, Added Sky Light

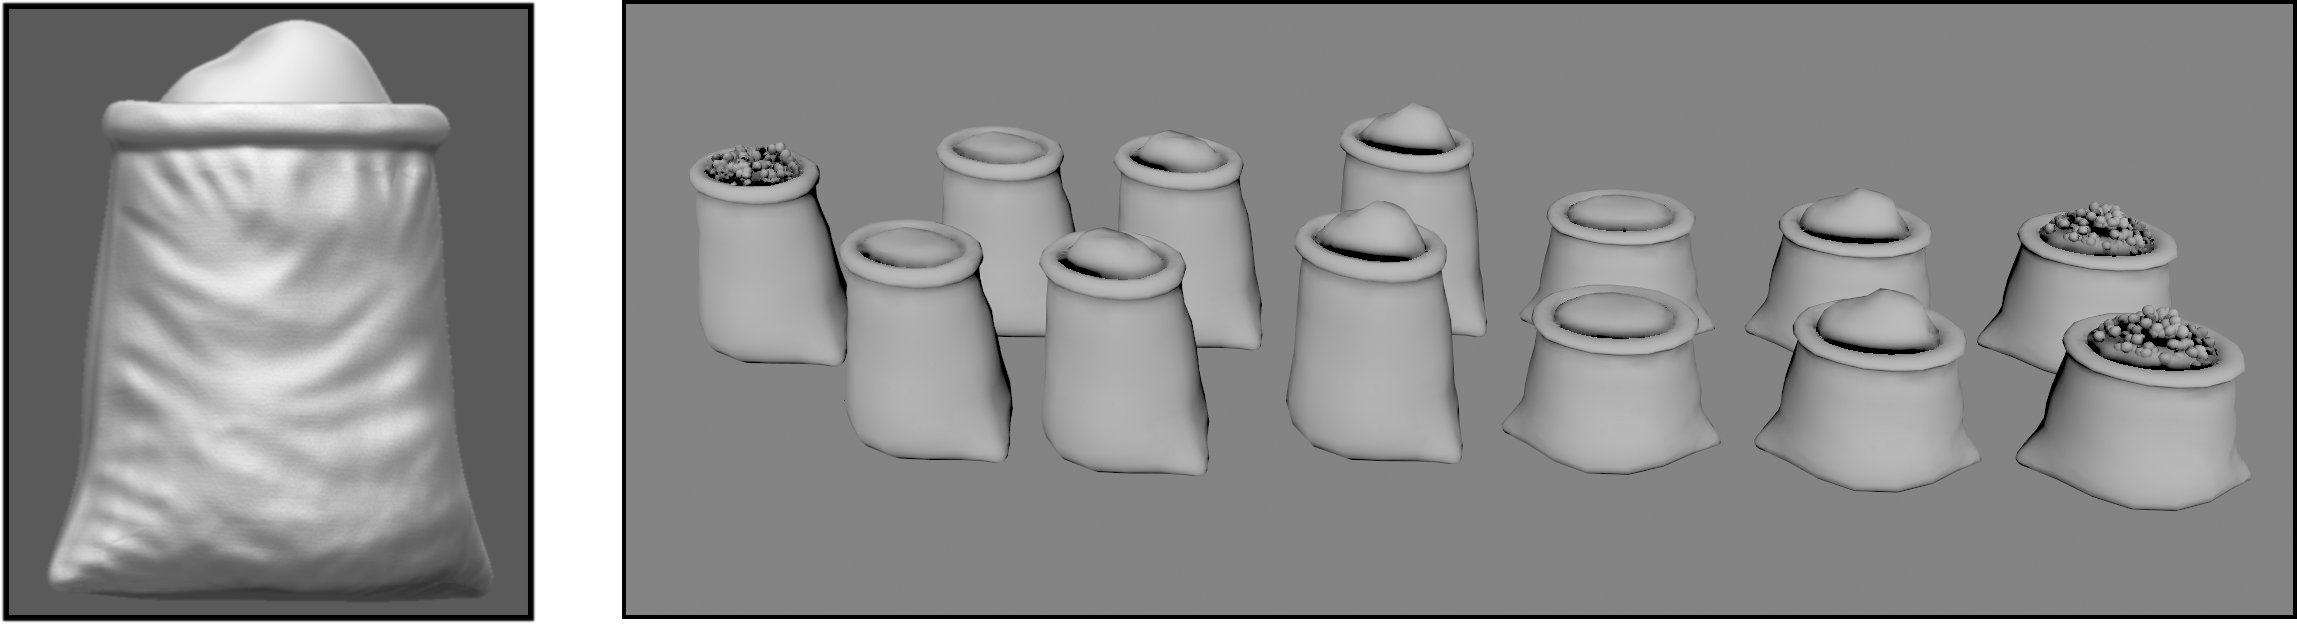
Added Exponential Height Fog, Applied Post Process Volume & LUT

Lighting Only Mode, Detail Lighting Mode
LIGHTING & POST PROCESS PARAMETERS

Directional Light, Sky Light, Exponential Height Fog, Sky Dome
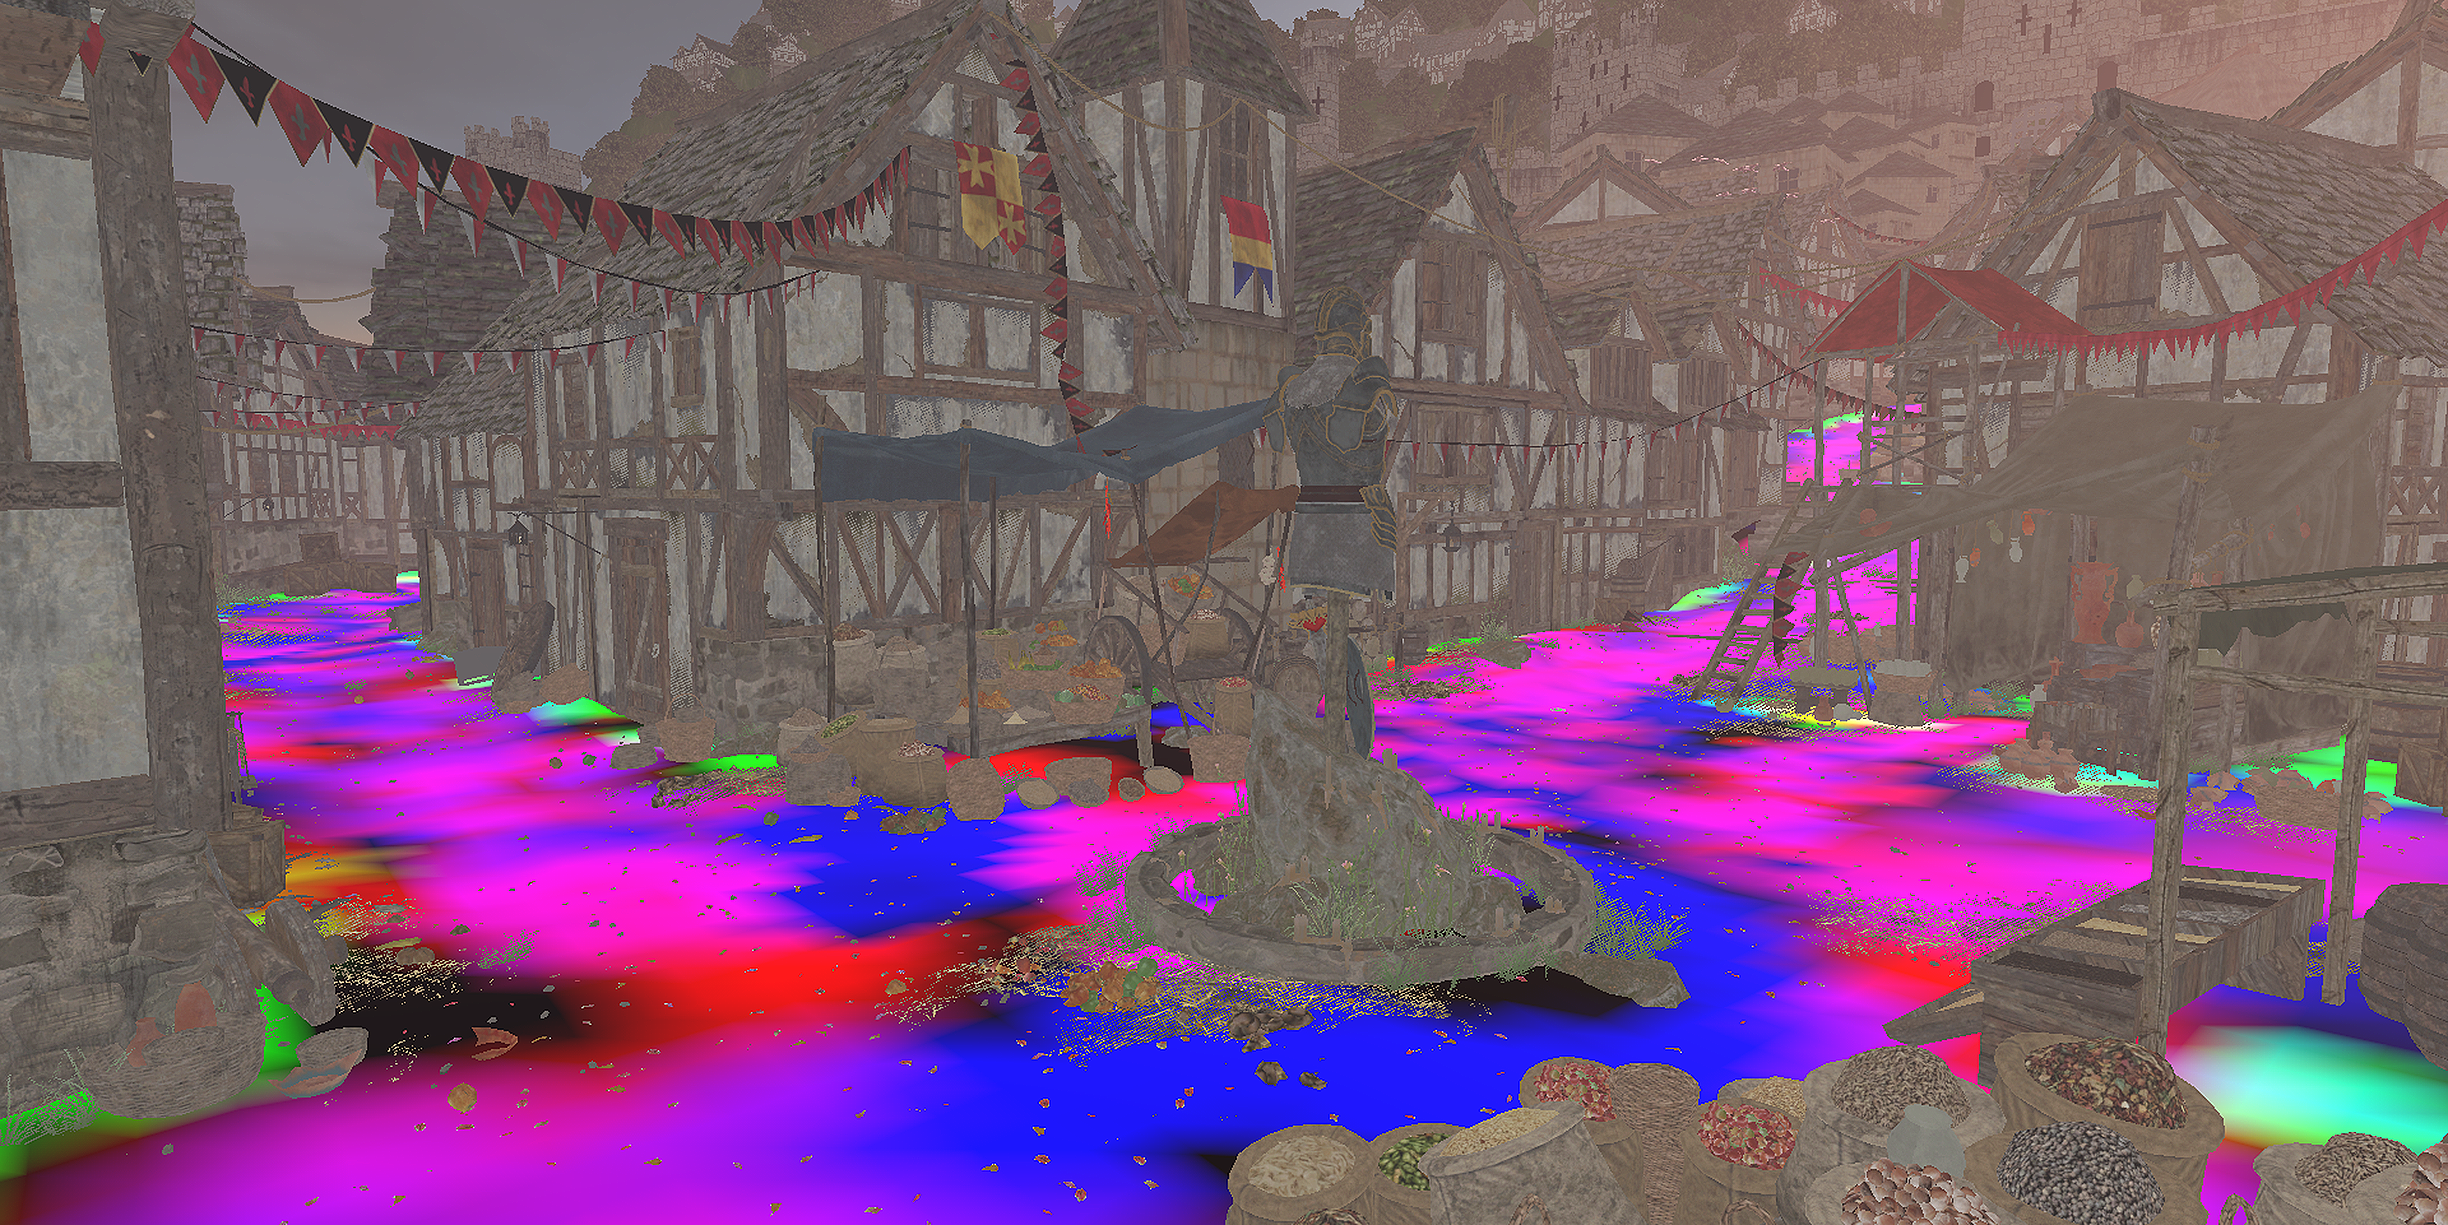
Post Process Volume
CLOSING THOUGHTS
I enjoyed participating in the Artstation challenge. It gives you a good platform to learn and compete with some of the best artists in the industry. The biggest challenge for me is balancing time. After 8 hours of office work it is really hard to do some personal work but it feels good to see your 40 days of hard work in your portfolio piece and people are appreciating your work. This is enough for me to get motivated. Keep supporting and I will continue to make beautiful and amazing artwork. Thanks for reading. See you soon.