
CREATING BEAUTIFUL MATERIALS WITH SUBSTANCE DESIGNER
Adam Dudley talked about how he builds his beautiful materials using Substance Designer for AAA games and shares some workflow tips for building materials.
Introduction
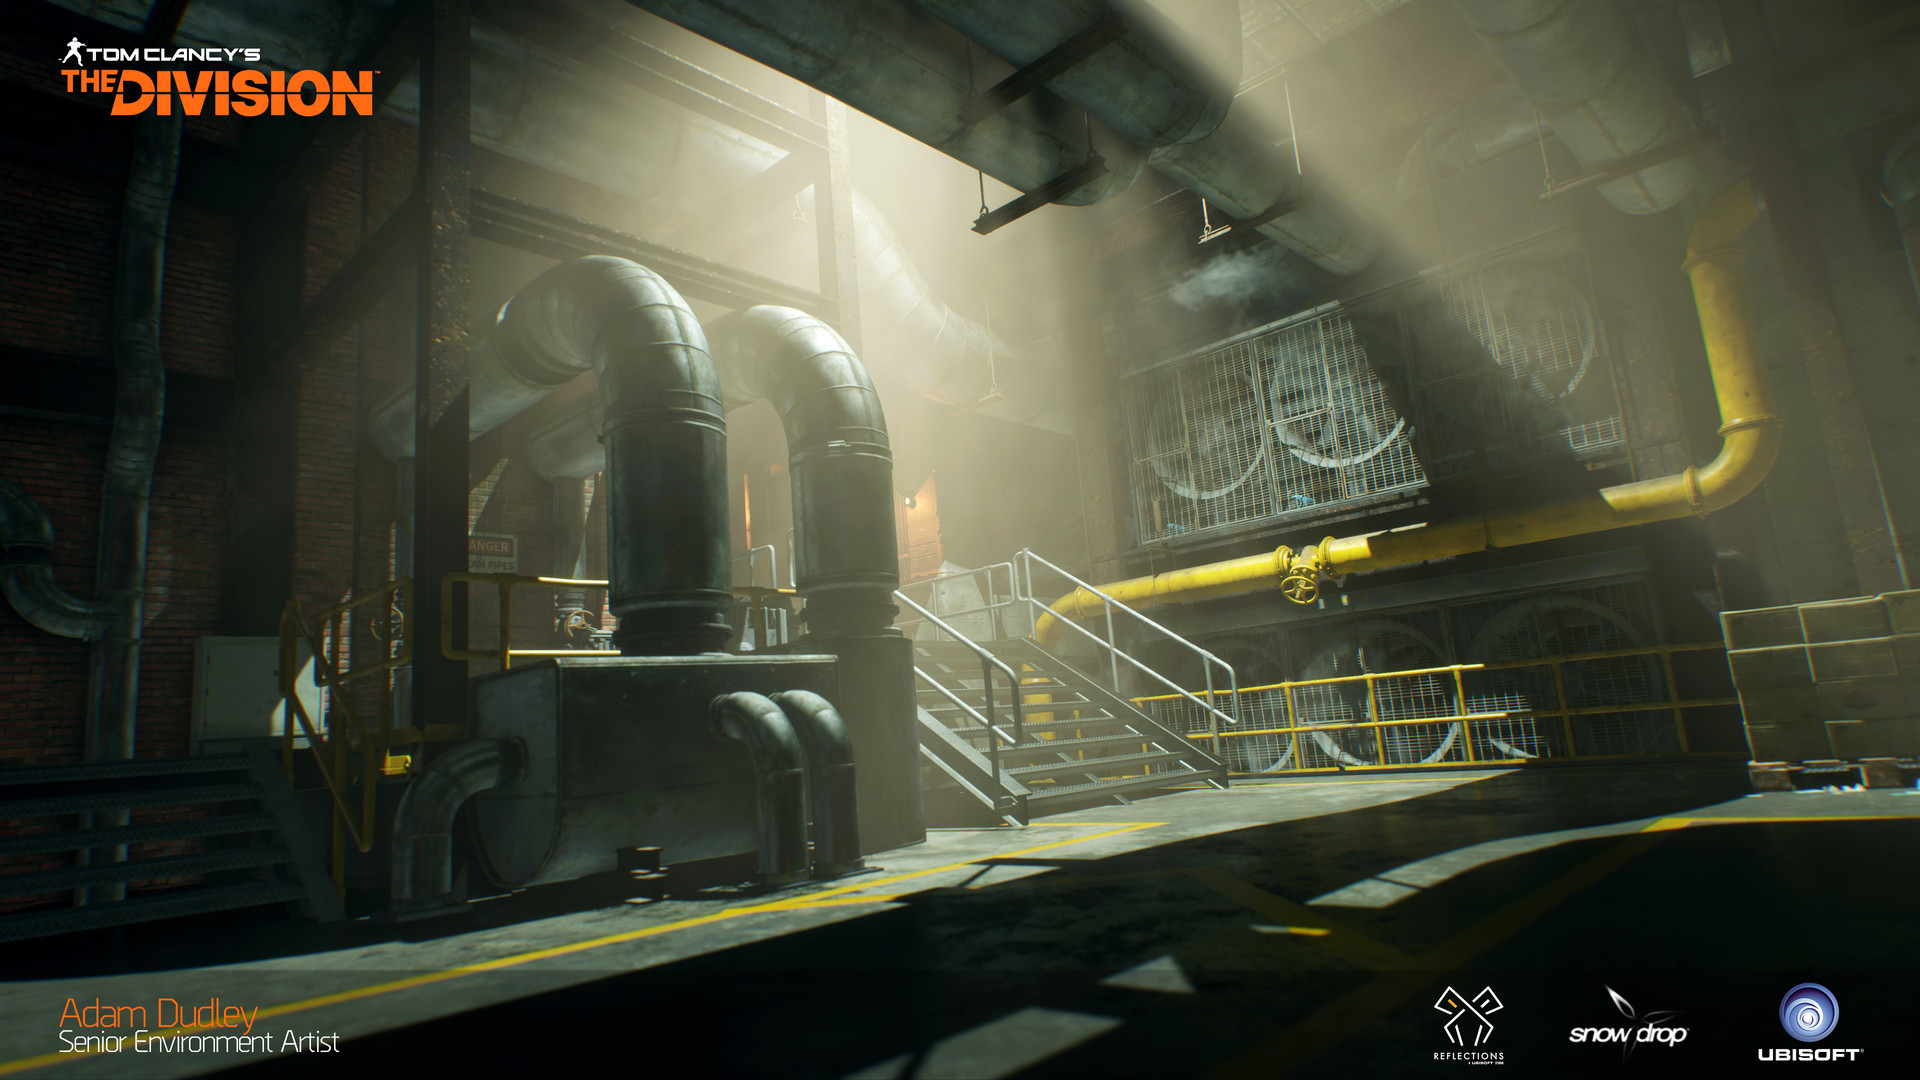
My name is Adam Dudley, and I'm from the North East of England, where I currently live. I’ve been in the games industry for 12 years now, starting out as an intern at a small developer working on racing games. I worked at Ubisoft Reflections for five years, working as a Senior Environment Artist on Watchdogs, Tom Clancy’s The Division + DLC, and The Division 2. I’m now at Sumo Digital working on an unannounced project.
My path into the world of 3D was a little unusual. I was studying Law at University but not enjoying it. One night whilst watching “Behind the Scenes: The Making of Halo 2”, I had a moment of clarity and realised that’s what I wanted to do. So I took the plunge, dropped out of university and changed to study Computer Games Art at Teesside University. From there I was lucky enough to get an internship with a local developer, and I was in.


Preperation
I was initially drawn to Substance Designer as I started to see other artists in the industry using it, on ArtStation etc, and I understood the potential that it had to be a seismic shift in material creation. My friend Chris Hodgson was really getting into it and producing some great work, and I was inspired by him to take it up and I started to experiment with it, and it’s been my main material authoring workflow for about 3 years now.


When it comes to reference gathering for a new material, my approach varies depending on what I’m making.
If it is a very specific material I’m trying to recreate, then usually I will have a key image that is the primary focus. I will also try and find other variations of the specific area within the key image, perhaps in different lights or from different angles, although sometimes I will work from just one image.
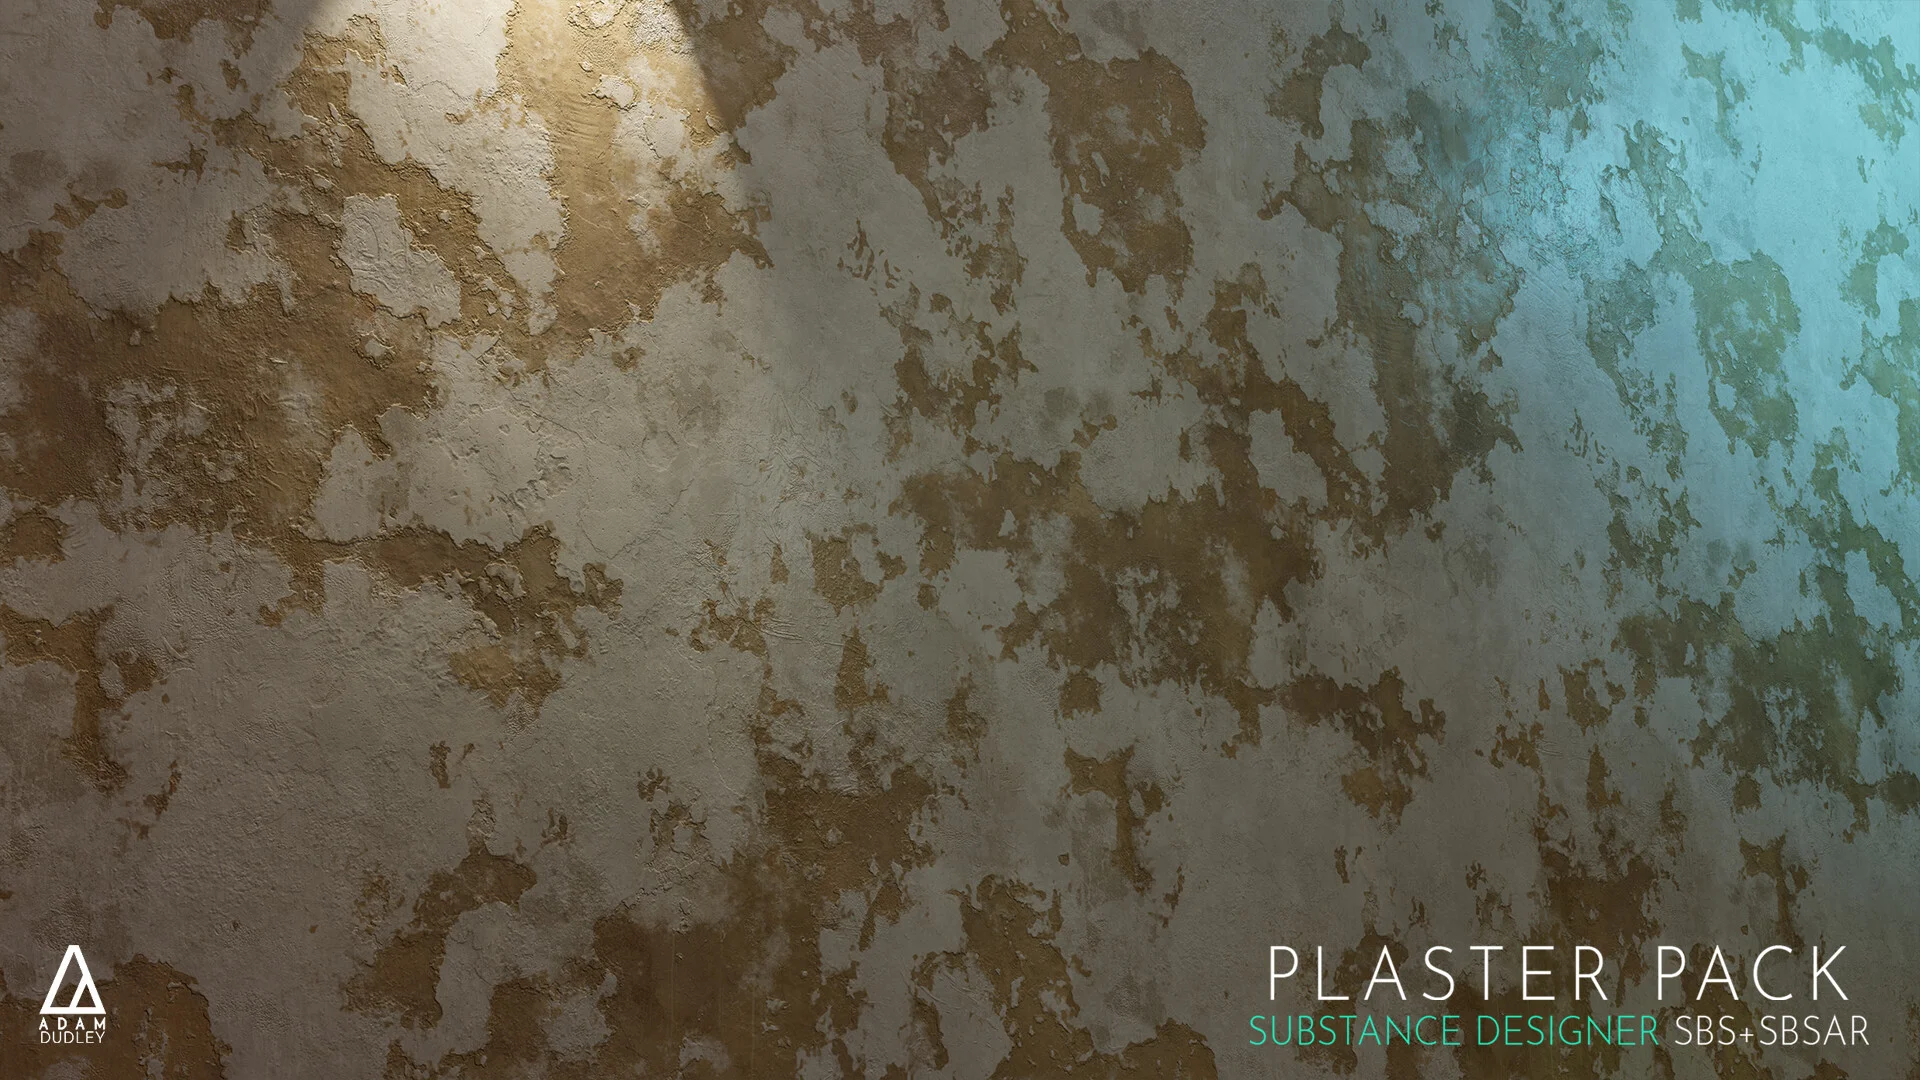
If I’m making something less specific, say an old stone wall, I will first gather a load of relevant reference. In this I’m looking to understand the forms, the surface, imperfections, weathering, colouring etc. Once I feel like I understand what I’m setting out to create, I will try to focus my reference down to a few key images, as I find having a mood board full of images can be distracting.

My favourite part of the Substance Designer workflow is the whole thing! But seriously, I really enjoy creating the height map of a material, as it’s like the beating heart of your graph, feeding into all the other parts. Once you’ve overcome the initial hurdles of creating something that looks convincing and cool in your height map, you know that the rest of the process, like creating your albedo and roughness, is only going to make it look even better (hopefully). I also quite like creating the albedo, adding subtle layers, build-up of variation and patina.
Basic Material Setup in Substance Designer
When I start a new Substance material, I set up my graph with a mid-grey value plugged into the albedo and roughness output, and I begin creating the height map. This allows me to focus on the height without being distracted by diffuse or roughness. I find this workflow is best for most materials, as elements of your height map creation process will act as a source for the majority of your other maps (albedo, roughness etc).
Roughness Variation
For me, it’s all about being observant. The first step is your reference; try and observe how the material is behaving in different lighting environments. Analyse your reference and try to understand the story behind the material you’re trying to create; Is it old or new? Has it been exposed to the elements? Has it been damaged? How was it constructed? If it’s aged and worn, how and why? Everything has a story, and once you take the time to understand what you’re creating, you can start to imbue your material with that story, and the roughness is a hugely important part of that process.


I like to try and breakup the roughness map with imperfections and subtle variation, adding a patina to it. I find doing this really helps create convincing roughness. Of course, you have to balance how much of that you add with the type of material you’re making. An old, damaged, leaking concrete, and a newer polished concrete both have imperfections and variations across their roughness maps (that’s what tells their story), but in different orders of magnitude, and it’s up to the artist to balance how much they add.


Substance Designer Workflow Tips
When it comes to speeding up your workflow, my main tip would be just to keep practicing and creating materials in Substance Designer – that’s by far the best way to speed up your workflow as you start to better understand the various nodes, and drill down into how powerful Substance Designer can really be.
I tend to try and create nodes to replace operations that I find myself doing quite often, for example, edge damage for bricks/stones/tiles, or rock generators etc. Bundling these actions into handy nodes means you can drag and drop them into future materials and save yourself a lot of time.
I also use a multi-directional warp node quite often, which I made by following a great tutorial on the Substance YouTube channel. It’s great for little micro-warps that add a convincing natural chaotic breakup to your forms.
Common Pitfalls and Mistakes
One of the biggest issues I had when learning Substance Designer was getting my brain to work in the Substance node-based workflow. Moving from previous texture creation methods into Substance Designer requires you to think differently; as an artist, you know how to achieve something in Photoshop etc, but now you have to figure out how to do the same thing in Substance Designer without hand painting. It was initially difficult to rewire my brain but eventually it became second nature – although sometimes I still struggle!
I also had issues with my earlier attempts within Substance Designer looking stylised, rather than the realistic look I was aiming for. It’s almost part of the workflow, that as you progress through the stages of making a material, you will get to a point where it kind of looks like what you’re trying to make, but it’s not refined, and it’s straddles the edge of looking stylised. I think this is where a lot of people fall down in Substance Designer, stopping there rather than iterating and pushing through to something more realistic.
The solution is twofold. It comes with gaining experience in Substance Designer and therefore having a better idea of how to achieve what you want within the software, and it also comes back to being observant. Keep referring to your reference and comparing your material against it; have you matched the forms, the shapes, the surface features, subtleties of colour and so on. Be honest with yourself and kept iterating until that process becomes second nature. Once you reach that point, you’ll find you achieve the look you want a lot sooner and with fewer iterations. Also, ask for feedback – from your friends, colleagues, peers – get fresh eyes on your work, it can really help.


A common issue I see when people are learning Substance Designer is that materials end up looking obviously procedural. One reason for this can be because they’re using the standard nodes like Clouds without varying it up or combining it with another noise for a more unique look, or for example using slope blur greyscale once to create worn edge damage and leaving it at that. Sometimes that may be all you need to do, but usually I find combining noises and building up your effects gradually helps to achieve a more natural-looking result.
Future Work
Yes more Substance Designer work is on the way, and more material packs/tutorials soon too. I’m also working on a few personal pieces which may or may not ever see the light of day!
I haven’t used Alchemist yet, but from what I have seen in the videos released by Allegorithmic, it certainly looks very interesting. I’m looking forward to giving it a go.


