
Q&A WITH LUAN VETORETI - STAR CITIZEN MATERIALS AND PORTFOLIO ADVICE
In this Q&A, Luan Vetoreti talks to us about his experiences working on Star Citizen, how they work on such a large scale and how he had an integral role to play in building the games Material Library and pipeline. With such an extensive role in the development of the game, Luan provides an insight and advice on what other artists can do to better improve their portfolio, providing feedback and how to work in a team.
Introduction
I didn’t really start messing with any kind of 3D art until around 2011, when I was playing with the UDK Editor, making levels and other in-editor art. Before that, I spent some time as a sound designer and music composer. It was at a time in my life where I was trying a lot of different things and ultimately ended with a decision to go to Norwich University of the Arts for a degree in game art.
From uni until now I’ve worked on a handful of small projects as freelance, as well as some QA work early on in my career, then I got a job at Cloud Imperium Games UK as an environment artist on Star Citizen, where I’ve been ever since.

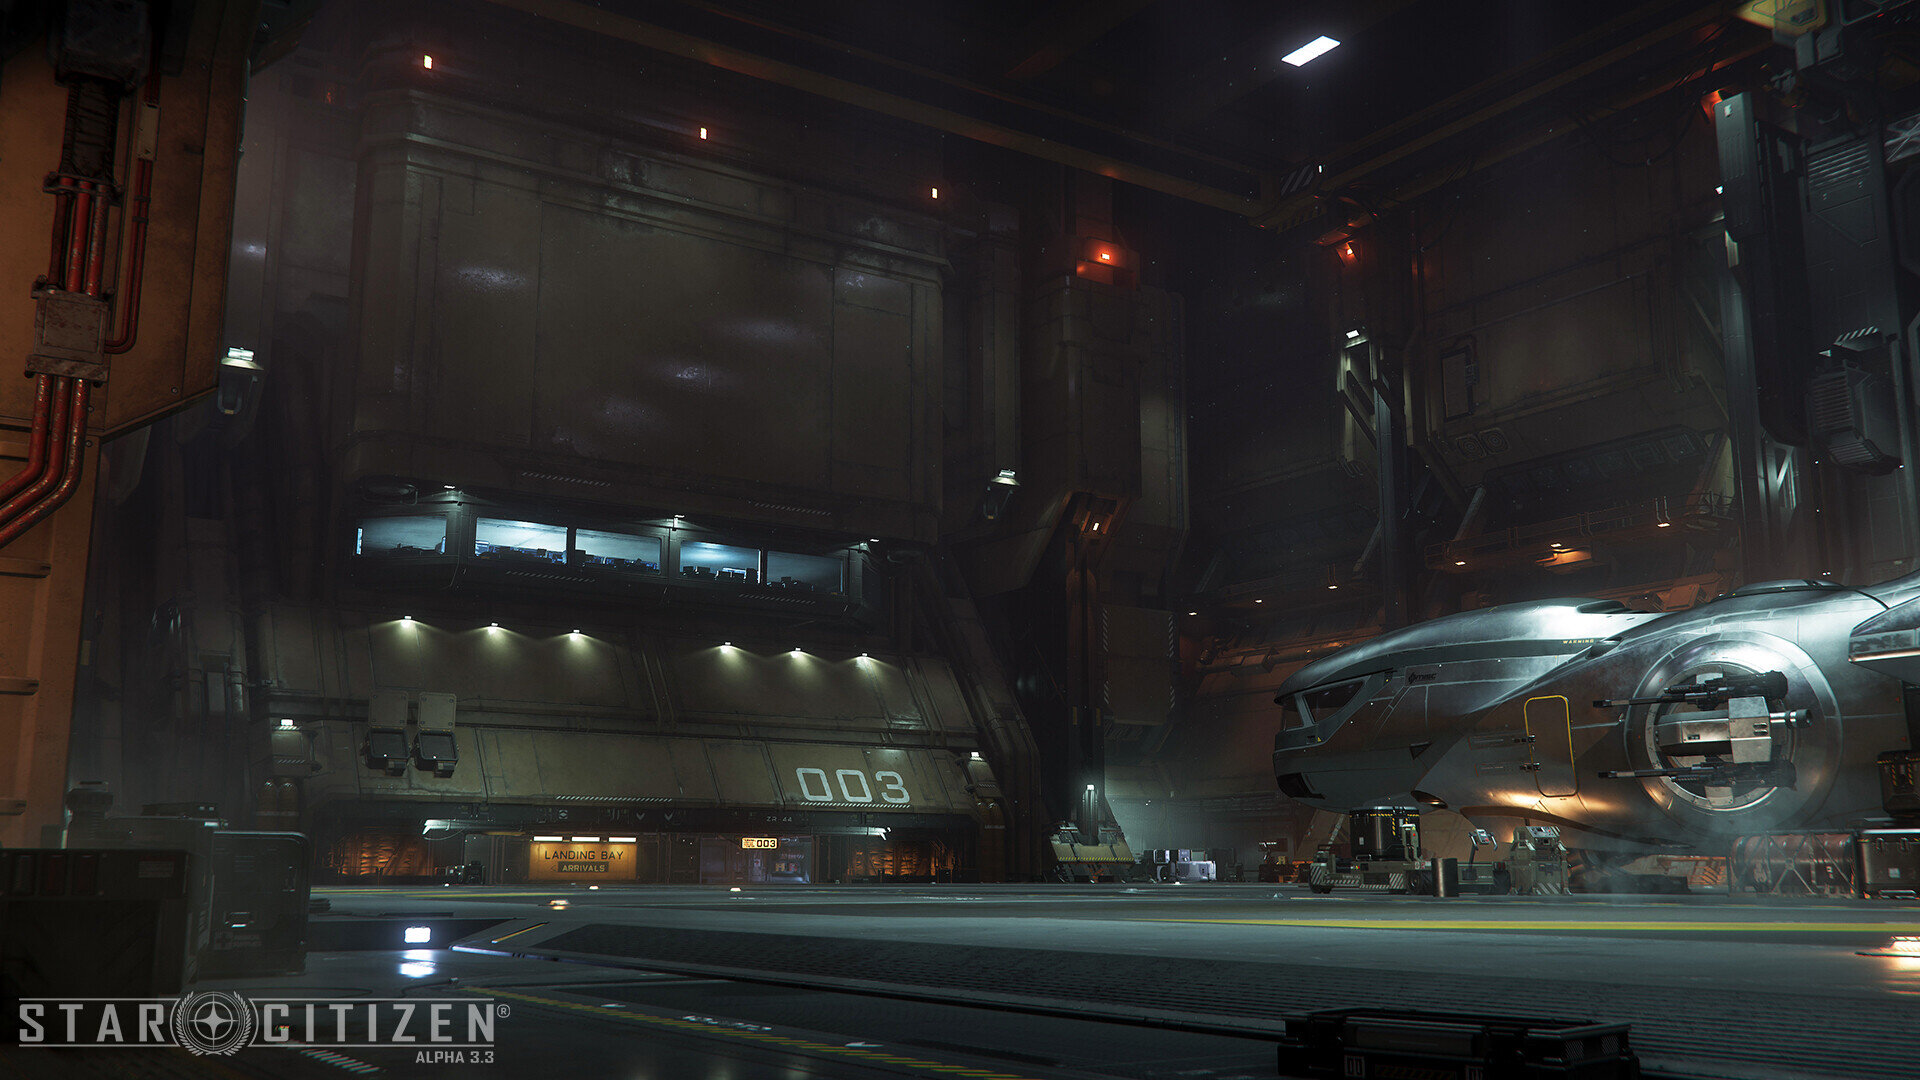
Star Citizen - Consistency on a Large Scale
It really comes from good communication between all the teams and disciplines involved, as well as solid art direction. Having a structure in which more senior members of the team are checking the quality of the assets being made, as well as a solid multi-discipline pipeline to make sure we’re catching all of the issues with the levels both visually and gameplay-wise early on.
I’ve been lucky to be part of the team from somewhat early on, so I’ve been involved with establishing a lot of workflows and tools that have become the staple of our asset creation process and I think that having people that are always trying new tools and ways of working is imperative to the efficiency of the art team.
On top of all that, having someone that establishes visual targets, like a principal artist or even having existing levels within the game that you can reference for good examples of assets is quite important. When we have someone new joining the team, we always get them to look at certain levels or assets that are the best example of the visual quality they should strive for.


Building a Material Library
We build an ever expanding library that people can pull from. Establishing a library of materials for certain styles and locations is quite efficient for whenever a team is working on a new location. Having this pre-existing layer library makes the process that much faster and when there are so many locations to make, is really the only way to make sure we don’t overrun in our schedules.

For example, say someone is creating a location that needs certain types of painted metals, they can simply go into our material library and pull whatever it is they need. If they need a panel sheet, they can look through our panel sheets in the library and use the one that’s most appropriate to their environment and art style.
The large majority of these layers are made grayscale and quite bright in the albedo so they can be tinted to whatever colour is suitable for the environment. They’re also made with fairly high gloss, so we can cover the largest range of wear values possible. Once someone finds a layer that they need, they can pull that into a master material palette that’ll be used in the environment, as lumberyard provides us with the chance of creating these material palettes that contain all the surface types we might need for an environment as approved by the art direction of the location.


Building Materials and Adding Details
A lot of experimentation went into figuring out the best way to make those materials. The greebles started out exclusively in Substance Designer, with lots and lots of shapes being created in multiple different graphs and then bringing it all together in a separate graph using splatter nodes and height blends. It was good at first, but proved to be a little bit too random and greebly, so ultimately I modelled shapes and structures in Max and baked and textured it in designer.

For the panels, they’re a combination of SVG nodes in Designer so we can get specific panel layouts. I tried to use tile random and other tile nodes to create the panels, but always ended up with a result I found too random, or rather the panels always felt too unstructured. After I get the heightmap out of the SVG nodes in combination with blurs and curve nodes to get a nice bevel on the edges, I simply proceeded to do all the surfacing like I would any other painted metal; using all kinds of different mask builders and blending it all together!

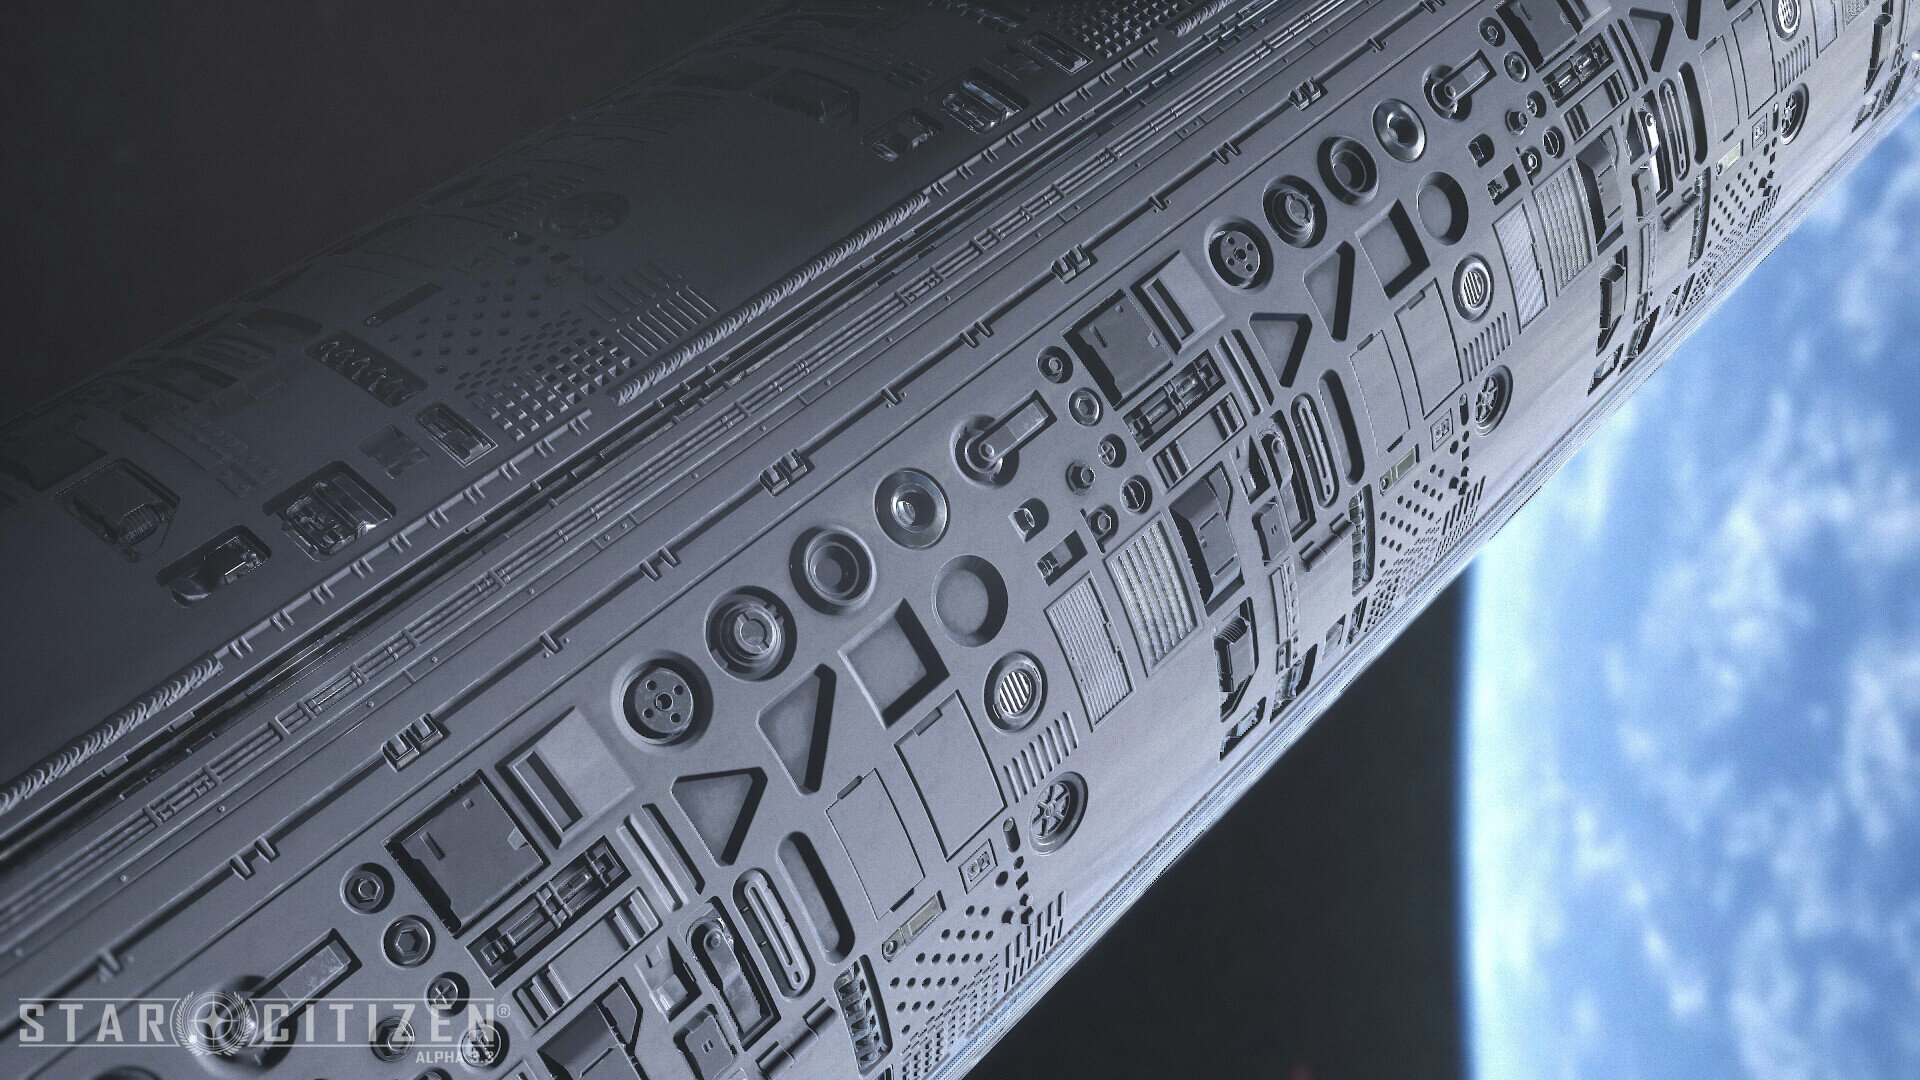
I can talk a bit about how I go on about making the greeble material and how I ended up setting up the presentation for those materials. Iteration and experimentation aside, the main idea for the greebles was really to make a machinery texture that could go wherever exposed areas of the hull would appear. There were a few ways to make this, such as creating lots of different shapes in Substance and compositing them all together in a separate graph, but ultimately I ended up deciding on a simple modelling exercise. Since this is really more of a material for background assets, and since in Star Citizen there’s no such thing as a background asset, I had to balance it so that the shapes were readable and well detailed but not too detailed that it’d become pure noise from a distance.

After modelling everything in Max and going through an iterative process of making these somewhat abstract shapes make sense for the scale they were intended to be used, I baked it in Substance Designer and started surfacing it all there. My process in Substance is to drive everything from the height map, much like you do when the texture is made entirely in Substance. The only other map I baked was an ID map to be able to mask out certain areas. I kept the albedo very simple and did as much as I could on the gloss and spec to get some interesting highlights when the sun hits it.
The material uses parallax occlusion very heavily, so having the self shadowing in the shader really helps to sell the depth and though it looks a little low-res up close, it still holds up enough as you fly around it. I also used some detail maps to help the up close read, making the metal a little bit more believable. It was honestly quite simple, with the shader doing most of the heavy lifting!
For the presentation, it took some time to find something that I liked but since most of the textures on that set were used in space, and I’m not too fond of the material balls so I decided on a long cylinder with a space environment around it to showcase its intended use. Lighting setup was super simple, one directional light and then a point light opposite to get some different highlights on the glossy areas, but nothing too crazy!
Important Skills for an Artist
Have a really good eye for accuracy. It’s easy to do things like exaggerate your texture maps to get a stronger or more pronounced effect, however if you’re working on physically based materials, you must really understand that subtlety is very important. I see a lot of environments with overly exaggerated normal and gloss/roughness maps, and they tend to make everything have an amateurish look.
That’s not to say that you aren’t allowed to do so but exercise it with caution, it’s easy to remember something you’ve seen in real life as much more extravagant than it actually is. Which brings me to my second most important point, which is to understand what you’re trying to make. This is either done by being true to the reference, or something I find quite helpful is to know how the material I’m making was manufactured and what went behind that process. This helps me make informed decisions when it comes to detailing things to look as believable as possible.
Ultimately, when in doubt, just ask! Put your images up for feedback on your favourite channels and be open to constructive criticism. Try out weird things, you can end up with so many happy accidents by suddenly flipping your scene upside down or plugging a crazy node in to see what happens. Don’t be afraid to try!
What do you look for in a Junior Artist portfolio? Anything Junior Artists should avoid?
I personally like to see a few very high quality pieces. Something that shows why they’re skilled in their chosen discipline and a love and passion for the subject matter. As artists we are all storytellers so seeing assets and scenes that aren’t sterile can tell me a lot about how the person thinks when they’re being creative. Try not to make things that are overdone, such as sci-fi corridors or post apocalyptic overgrown streets. But most importantly, be inspired. Find something you’re very passionate about.

What is the most common mistakes you see in student or junior artist work? What can be done to fix this?
A lack of fundamentals and technical skills. For a student it’s very easy to pick out when someone hasn’t really figured out how to bake an asset or a texture with super heavy normal maps that look bad or have terrible texel density and some of that is to be expected. The remedy to this is to really keep practising. It’s lame advice but you’ll only ever get better by practising and learning 24/7.
For a Junior, it’s more of a lack of fundamental knowledge, like composition and lighting for example. Whilst you may not be lighting your own work in the larger scope of the game, take a little time to do a nice lighting set up so you can see your asset working. Or if you’re set dressing, do a base pass lighting to inform the lighting artist of what your intent with the scene was. Something else I see a lot of is noisy environments. For a modeller, this may be an asset that has just a few too many greebles or panels everywhere, no rest area. For a set dresser, this may be an environment with way too many props everywhere, it can be overwhelming for the player.
There is also a big lack of understanding of optimization. This is fair, as it’s not something one tends to worry about when learning art the first time and you’ll learn it all on the job. But a little bit of knowledge about why multiple textures is bad for memory or why your asset may be blowing the poly budget can be quite handy.
When working with a team what do you find the most helpful traits for Junior to Mid-level Artists?
Don’t. Do. Unnecessary. Overtime. Just don’t. The amount of times I’ve seen new starters and juniors in until the late hours of the evening because they are too afraid to say that they need an extra day or two for their tasks. This is extremely detrimental to you as a person and as an artist. Burnout is real and can happen quickly if you don’t learn to balance your work and your life. Sure, what we do is awesome and we’re keen to do as best we can. But take it easy, you have many years ahead of you.
Talk to your leads and seniors. There is a structure for a reason. If something isn’t working for you or you have an issue with how your work is taking shape, talk to them. That’s what they’re there for. If you’re given a task to make a ladder, make the ladder, don’t go off course. If you’re struggling with the design or technical aspects, ask your superiors. Don’t be afraid to be a rookie. No one is judging you for it.

As a Environment Artist, can you talk about some of the key skills you look for and wish you had trained when you were starting out?
The most important for me, especially working on a sci-fi game, was a knowledge of what is a good design and what isn’t. I used to look at my favourite designs and not really know why I liked them, but being able to break that down to its core elements: Shape, Rest and Noise areas, colour and material breakup; and applying that to my work was a huge boost.
The second thing was composition. Though university did cover the subject extensively, I never really managed to find a way to apply that to my work. I would put assets into a scene and then try to find a composition without moving the assets. Slowly I learned to block out some very basic shapes and ideas for the camera and then figured out what assets I’m making and where.

What skills do you find most frequently lacking for artists trying to get their first job? How can they improve or learn these skills?
It tends to be more of a lack of fundamental knowledge. Not so much technical, but more to do with composition, shape language, lighting, presentation. A lot of super wide shots that are too dark to really discern one surface from another. Look at your favourite artists and your favourite pieces and learn from what they’ve done. Try to replicate it, even if it’s a 1 to 1 replica just to learn! But please, don’t start remaking people’s work and posting it, simply use it as a learning experience. For me personally, I’d love to see more fundamental composition and lighting being applied in new artist’s work.
Do you have any advice on those that are looking to improve their portfolio? How to best make it stand out?
It’s hard to be original. But it’s also hard to stand out by making another AK-47, or another sci-fi corridor. Firstly find what you’re passionate about, be it texturing, lighting, hard surface modelling, whatever it may be. Then use whatever scene you’re working on to enhance your skills. Try to be creative with your subject matter, even if it doesn’t allow for much creativity. Perhaps you really want to model guns and make props? So then find a really interesting and consistent way of presenting them, perhaps like a gun catalogue? It’s quite easy to look at someone’s portfolio and see “yet another gun floating in the darkness of the viewport, badly lit”. Give your gun a story, maybe through your texturing!
Making a cool new material for you material portfolio? Perhaps instead of showing it in a floating material ball, put it in context! Is it a procedural candy material? Make a bucket and add the material in, put in a super low FOV camera, some cool lighting and show it off.


What are the best ways you’ve found for providing feedback to your artists? Have you found ineffective ways of giving feedback?
You have to engage the artist on what they’re working on. Simply saying “this is bad” or “I don’t like it” is not helpful of course but showing personal interest in what people are doing can really help the person be more receptive to the feedback. Everyone’s feedback is important, even if you may not know much about the technical aspects of what they’re working on. If you have an opinion to give then give it. However there is also a fine line between useful and useless feedback. Suggesting something just because you want to see it in someone else’s scene or asset may not be as helpful as you think. Try to find what may enhance the person’s work, such as “this crime scene could really do with some cameras that have been disabled!” instead of “looks cool, would be cooler if the guy was murdered in a completely different manner than what you want though”. Be constructive, don’t just say “looks gr8”, be engaging!
When working with a team what are the most common mistakes new artists make? How could these be avoided or improved?
There are two fundamental things that if left unchecked, can become part of someone’s personality and therefore, making them difficult to work with.
The first is an unwillingness to take on constructive feedback. All feedback is good feedback, even if you disagree with it. But outright dismissing the feedback just because you don’t like it or don’t want to make any changes can create a loop where you just never take on feedback at all. This can prove to be one of the main issues when working in a team, especially if you’re trying to achieve an art director’s or lead’s vision for something. Learn to take feedback early and understand the feedback.
The second is the ability to know when a piece is finished or rather, when to move on to the next thing. When you’re working in a studio you’ll have to be able to commit to tasks and finish them in a timely fashion, so being able to let go of a piece is quite important to your fulfilment of given tasks. As artists we can always push for more polish, we are never done, so learn to take a step back, look at the bigger picture, see how your asset or environment may sit within the larger scope of your project and the importance of the asset and learn where to cut corners if needed. Is the asset a bucket that the player may barely encounter? Then it probably doesn’t need a ton of love. Is the environment a toilet in a building full of other more important rooms? Also probably doesn’t need as much polish. Sometimes there can be such a thing as adding too much detail! Always look at your scene/asset in context to the grander picture.
Outro
This is a small glimpse into some of my processes when creating the art for Star Citizen. Working at CIG has taught me so much about hard surface modelling, industrial design and texturing for hard surface elements. Whilst I can’t share a lot of specific images and work in progress shots of this work, I’m always more than happy to break it all down for people wanting to use these workflows.
I urge people that want to get into sci-fi art to really learn a lot about industrial design and shape language. This is such a key element that is often missing with people starting out. It’s difficult to get that design in your head down to the screen but as with anything else, the key is to keep trying. Load up Substance, load up Blender or whatever you want to use and just sketch, watch tutorials, participate in communities discussing art.
Thanks for coming to my TED Talk.