
BUILDING AN ENVIRONMENT WITH ONE MATERIAL
Learn how Vuk Banovic went about creating this modular masterpiece. In this article he explores planning, material setup and the process of building a modular kit from one material, as well as the challenges of the workflow.

Introduction
Thanks for having me, it’s a pleasure!
My name is Vuk Banovic and I was born in Belgrade, Serbia. I’m currently working as a Lead Environment Artist and World Builder on Insurgency Sandstorm, a first person tactical shooter by New World Interactive. I also own a small outsourcing company made of 8 amazing people and we help both AAA and indie studios build their projects by outsourcing our skills in world building, environment art and prop creation.
Back in 2005, I entered the world of 3D when I enrolled at Chiron - School of Visual Arts. I met some precious people who still play a big role in my personal and professional life; of course, it is also where I picked up the fundamentals of 3D. We went through everything from modelling, texturing and animation to scripting, simulations and VFX, which helped when choosing which aspect of 3D production I liked the most and wanted to pursue in the future. At the same time, I attended the Faculty of Organizational Sciences where I gained valuable insight into management, optimisation and overall production for the IT industry.
After getting my degree in arts, I landed my first job as a Generalist Artist in a local studio Spring Onion, that did commercials and motion pictures. Although I learned some amazing stuff there, I knew I belonged in the video game industry as video games were the reason why I wanted to do 3D.
My breakthrough in the industry was Rekoil, a first person shooter developed by Plastic Piranha in Unreal Engine 3 and afterwards Alone in the Dark and the Farming Simulator franchise. I’ve also had the pleasure of working on a VR title, The Solus Project, built by the amazing Sjoerd de Jong, also known as Hourences. In addition, I’ve worked on several mobile platform games and the WWII shooter Day of Infamy built in the Source Engine.
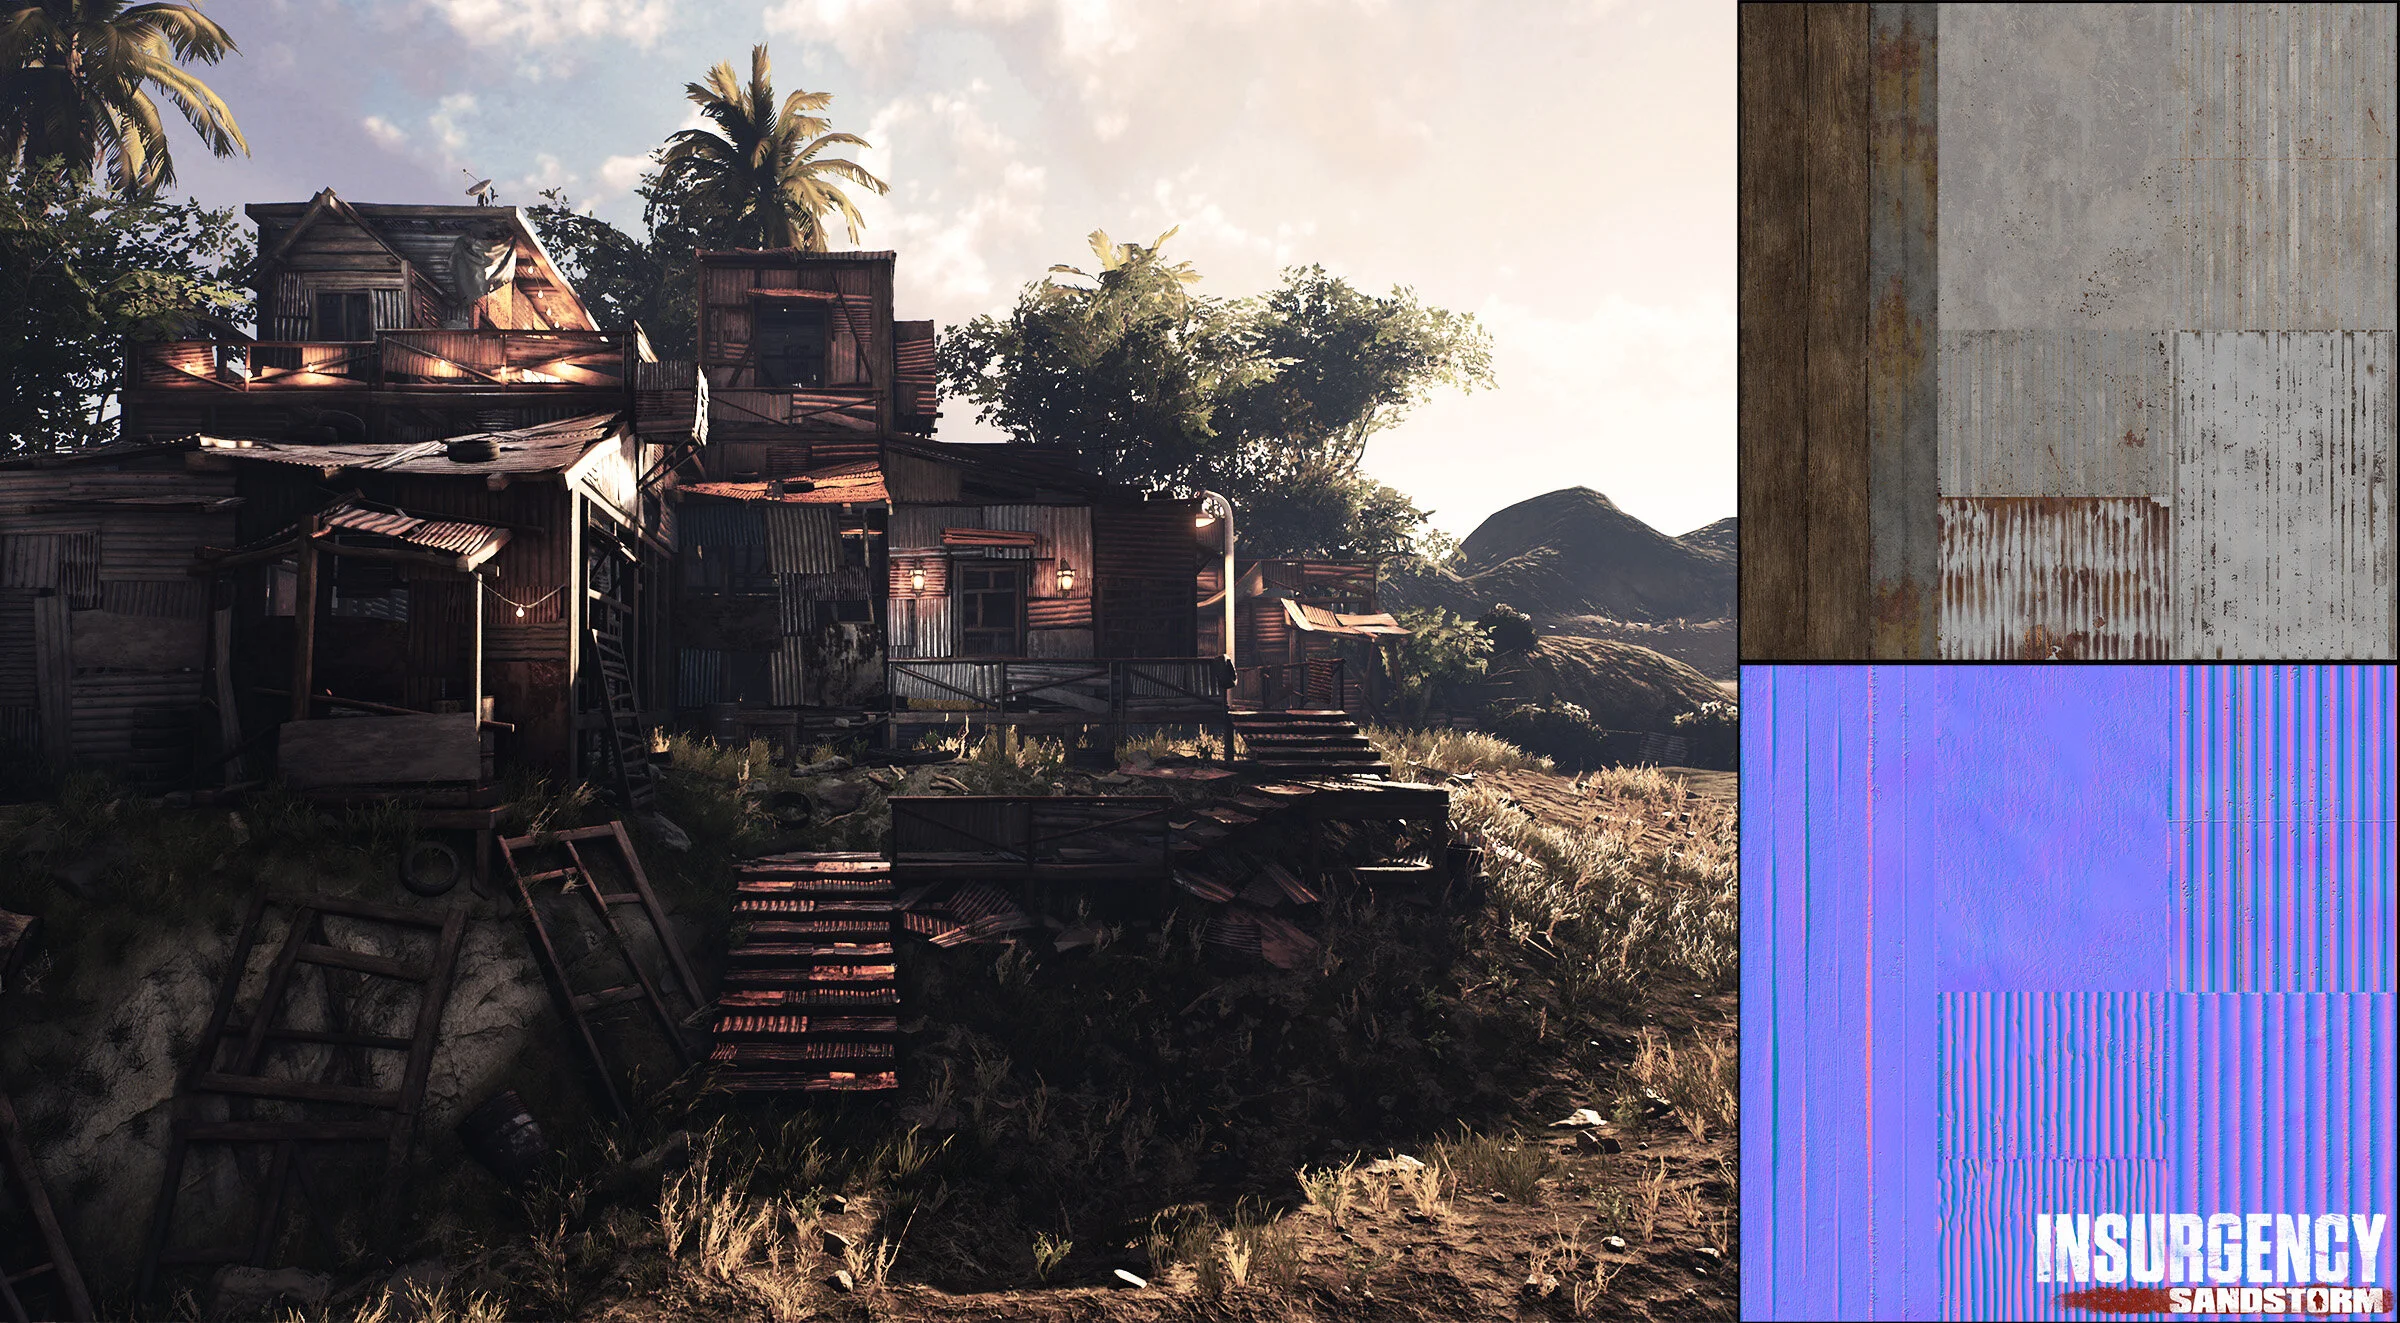
Environment next to Textures Used
Single Material Projects
As we all know, materials can really quickly become a performance bottleneck if not used carefully. Because of this, I wanted to create a few modular kits that only use a single texture set – material while retaining the visual quality we have set as a standard.

Modular Kit Pieces
Planning & Advice
As it’s tricky to mix different types of surfaces on a single texture sheet, I start by picking one type of surface (wood, metal, stone, etc). Afterwards, I create the blockout that helps me with defining the purpose of the kit but it also helps me to test the possibilities and re-usability without making it look too repetitive.
Once I figure out what kind of shapes and how many unique shapes I need, I categorise them (example: 4 x corrugated metal plates, 2 x pillars, etc.) and create a quick Photoshop texture atlas which I apply to my previously made blockout. This stage helps me to define how much and what kind of detail I need on the texture, and what kind of details I should sculpt on the high-poly mesh afterwards. Without this stage it would most likely end up looking too noisy and become overwhelming for the eyes.
Once I’m satisfied with the look and feel of the blockout meshes and textures I start the production phase, in which I finalise all the essential low-poly pieces by previously made categories. I do the low-poly and UVs first and then I create a high-poly which I afterwards bake in Substance Painter. With the baking done, I do another round of testing inside Unreal Engine to make sure everything went as planned. If not, I revisit and fine tune previous steps until I’m satisfied with the result.
After this, it comes down to texturing in Substance Painter and a lot of fine tuning and testing in Unreal.
Material Setup

Showing Instances of the Material

Material Variations
The material is using a really “cheap” setup in Unreal due to performance reasons. It’s basically a simple alpha mask that tells the engine which parts of the material should and should not be accepting colour. With this approach, I can have different colour variations of the material by only adding alpha to my ‘_Mask’ texture which is RMA (Roughness, Metallic, Ambient Occlusion) packed. Each one of the colour masked materials is an instance, so it loads up quickly. Here’s the preview of how the material looks below.

Material Overview
Building the Modular Pieces
Once all of the essential pieces are done, it’s pretty much about being creative with what you have and reusing it in a way so it looks unique. Having a ton of reference really helps but it’s important that once you assemble each one of the new assets/meshes to test it in Unreal by world-building a scene. This will help a lot with the overall look and feel – the global picture. All of my screenshots are actually the result of testing modular pieces together.

Modular Pieces

UV Setup of Mesh
Challenges of this Workflow
The biggest challenge is planning and testing. Once these steps are done, it goes quick and easy until I have to do all the lightmap UV (LMUV)’s by hand for each one of the pieces… hehe.
I have to do LMUV’s manually as my UVChannel0 has lot’s of geometry and UV splits. Unreal can’t generate good LMUV’s from these automatically and would unfortunately result in a lot of light bleeds and seams.
For this project I used 2:1 texture density, which means 200 Unreal Units (2 meters) are using 1024 pixels. Generally, texture density is not a problem because all the parts of the texture are tileable so I can easily split UV islands and overlap them in order to get the higher texture density in places where I need it.
Decals are okay if they are carefully used, though in my screenshots there are no decals.

Detail Lighting View
It was a pleasure and I hope that it was useful for the readers. :)
I would just like to add: “Stone kit is coming!”