
LOW POLY LIGHTHOUSE - SILHOUETTE IS EVERYTHING
Janrike made the move to Blender and tried it out by creating this wonderful low-poly art piece. Learn about the importance of shape and composition within low-poly art, how Janrike set up lighting and shaders and some tips and tricks for other artists.
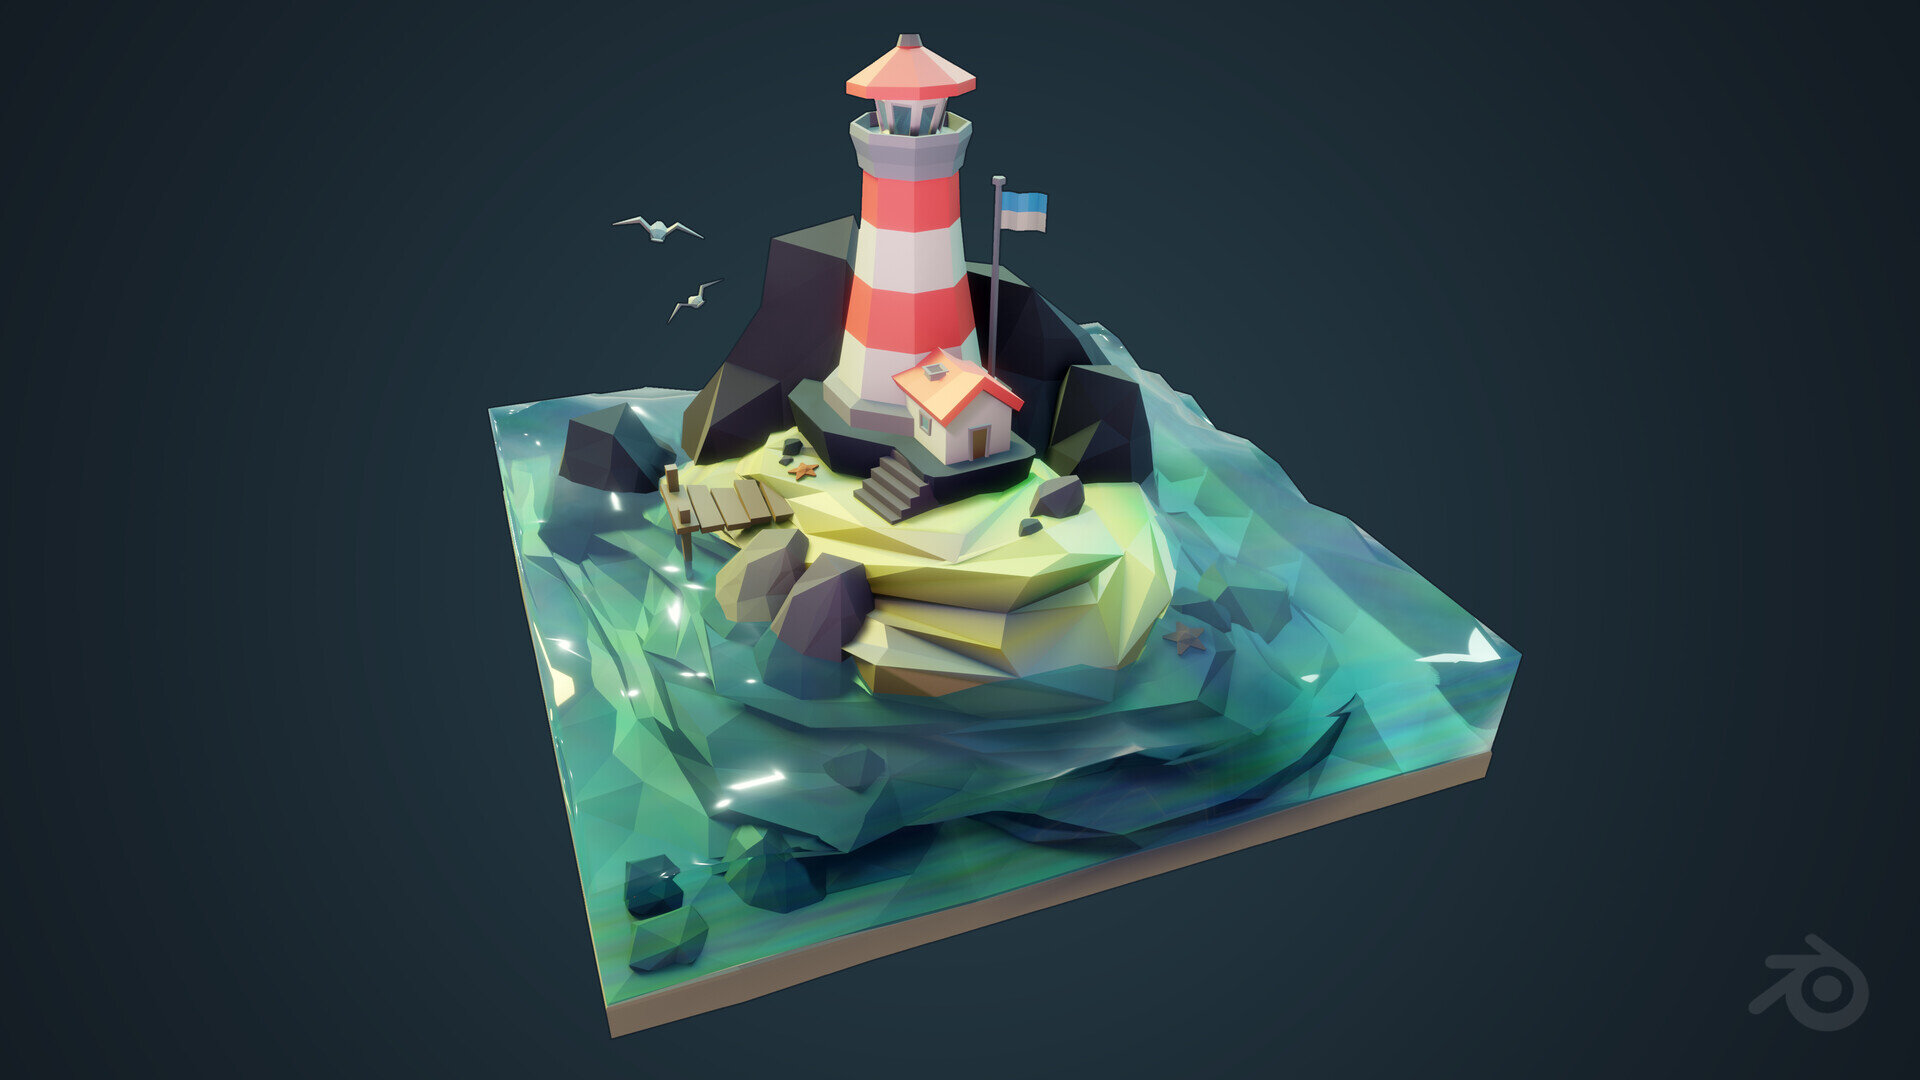
Stylised Lighthouse Environment
Introduction
Hi, I'm Janrike Berger, a 28 year old 3D Artist from Germany currently working at Limbic Entertainment. I have worked on projects such as Memories of Mars, Tropico 6 and Lords of the Fallen.
I graduated from university almost 6 years ago and have been working in the games industry since then. When I was younger I started watching ‘the making of’ videos for movies. The creative work that is put into films and game environments to bring them to life still fascinates me today. It's the world building aspect that I enjoy the most.
Challenges of Low Poly Art
Since you are so limited in vertices you need to make every single one count. Every vertex has a direct influence on the shape. You need to be able to abstract a complex shape down to its essence.
The overall silhouette is the most important tool you have to sell your scene and make it readable.
When modelling, it is very important to avoid a rigid look. The pier could have easily been made by scaling a regular cube. However in comparison you see that even though no further edges have been added, the pier on the right is a lot more organic and interesting. Avoid right-angles especially, your asset will end up looking static and have an unwanted/unfinished or blockout feel to it. Taper objects, make use of scale and rotation to introduce variety and skew otherwise straight edges.

Comparison of rigid/boring planks and organic/interesting planks
With a diorama scene like this, it helps to decide on your camera angle early on. I setup the camera after I had the basic blockout of the scene (the ground and the lighthouse) done. Low-poly scenes usually go well with the illusion of viewing something small from above, like a real life diorama. All tweaks were then catered to improve the readability and composition of the environment from this specific angle. With a shot like the lighthouse diorama you are composing a picture rather than a whole game level.
The benefit of working on low-poly environments like this is that you can iterate very fast. You don't have to worry about UV-ing an asset or creating an entire high-poly beforehand. You can quickly block out a few rocks, test the shapes and pick the ones you like. It's almost like sketching.
I added some smaller elements for the viewer to discover, like the starfish and the seagulls. On top of that they add some life to the scene. I think I could have placed a few more storytelling elements. This is something I definitely want to tackle in future projects. The challenge there is to find a good balance between adding interest and overcrowding a scene.
Lighting
I started out by assigning a very bluish HDRI to the Background node and turning up the brightness to 1.500. The one I'm using here is "sunset in the chalk quarry" from HDRI Haven.
Next I added a sunlight and set a warm colour. I knew I wanted to go for a friendly, inviting mood.
I added another sunlight, much weaker and a cold blue colour, to serve as a fill light on the right and brighten up the shadows some more.
There is one area light pointed at the light lighthouse to catch the viewers attention. The purple colour adds a bit of a "whimsical" touch.
Lastly there are two more lights with the sole purpose of producing stronger reflections on the sea.
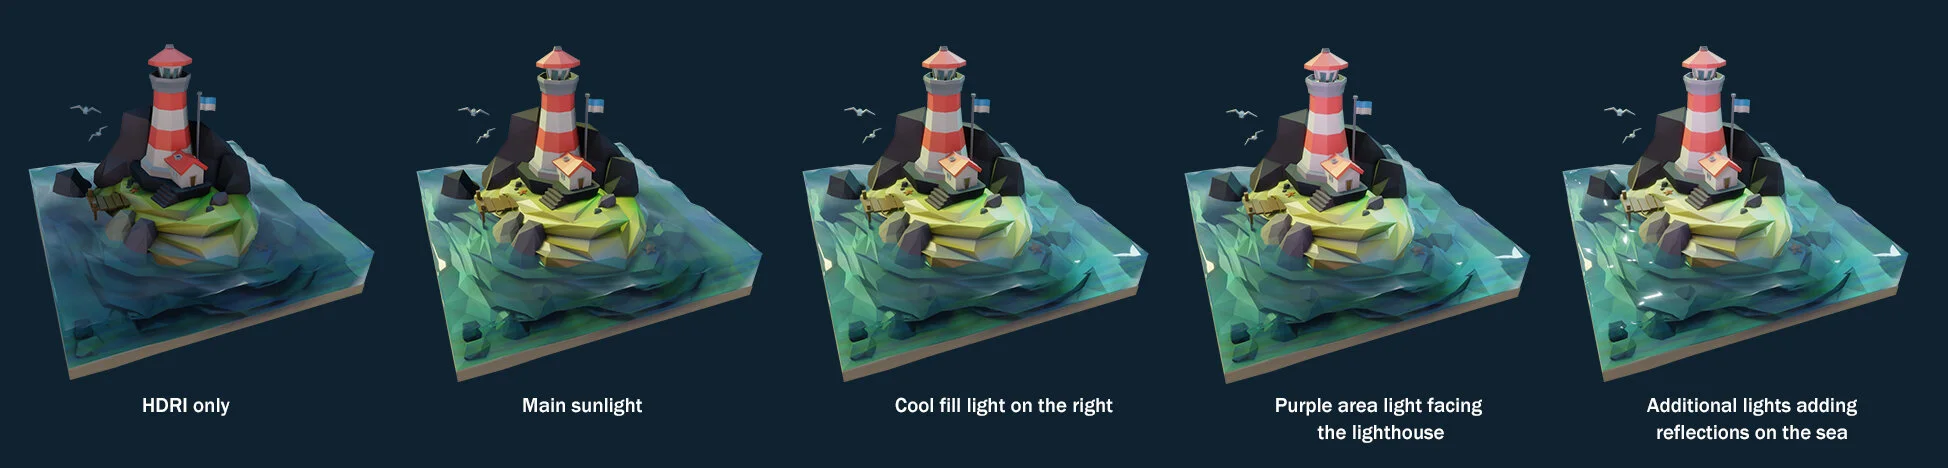
Lighting Setup Progression
Texturing
Since I'm not using any textures for this environment I'm making use of vertex painting to achieve the gradients. Instead of a colour node, plug an attribute node into the base colour input to see the colour you have painted. Then switch to "Vertex Paint" mode to add colour to the individual vertices.

Material Setup
Creating the Water Shader
For the water shader, I multiplied a solid blue colour with the Blender noise node to get the soap bubble effect.

Water Shader Matball
I set the transmission close to 1 and checked screen-space refraction in the material options. The IOR (index of refraction) is not the usual value for water but I liked the look of it since it reminded me of the raisin used in classic model-making.

Water Shader Setup
Switching to Blender
I've been a Maya user for around 8 years now. I was always curious about Blender and did give it a try a few years ago but it was a rocky start and left me slightly frustrated. However with the recent 2.8 update I decided to give it another try.
My workflow in Blender is not that much different from Maya. Once you learn the program specific names for your most used operations and figure out how to navigate the new UI you are already a big step further along.
For new people learning Blender, there are two major things. Learn the necessary hotkeys right away and don't make use of the convenient option of switching to Maya controls. It might seem like a good entry point but it makes following tutorials a lot harder. It will take a bit more time but as soon as you get used to the controls, you can be very fast. I keep a sheet of paper with the most important ones right on my desk.
If you have 3D modelling experience, watching beginners tutorials in order to learn a new modelling package can be time consuming. You probably don't need a full explanation on what UV mapping actually is in order to do it in Blender.
I recommend noting down the most common commands you need (for example extrude, bevel, snap to vertices, etc.) and specifically look up the controls for those in the Blender manually or on YouTube.
If you ever get lost, make use of the search option! You can set the space bar to bring up the search.

Blender Preferences for Setting Space Bar Action to Search
It's incredibly useful. Instead of searching through endless menus you can do a quick search to find that merge vertices option you've been looking for.
Tips & Tricks
I'm a huge fan of Discord communities. There are quite a few out there. You can get feedback as well as advice super fast. There are people of all skill levels present. Some host events, like 3D challenges. I find being part of a 3D community very motivating and it helps with sticking to your projects till the end.
I like to keep the latest WIP shot of my current project on my desktop and on my phone. This way I'm more likely to look at it again somewhere else during the day. With a fresh pair of eyes and a different mindset you are more likely to notice things that stand out. This method already helped me couple of times to finally pinpoint what was off about my work.
There is still a lot to learn when it comes to Blender. For one of my next projects I'm aiming to look into UV mapping in Blender. I want to experiment with the sculpting tools some more and give texture painting in Blender a try. Aside from that, I love working with the Substance Suite and ZBrush especially for texturing and creating materials. I will keep exploring those workflows further. You can find more of my work on my Artstation. If you like to see some work in progress, occasional doodles and experiments, check out my Polycount sketchbook. You can contact me there or on Artstation directly.
Lastly a few words on motivation for personal projects. What helped me a lot is defining a learning goal before diving right into it. What is the reason you started this project? What got you inspired? What is it you want to achieve with this piece? A goal will help to keep you focused. Resist blowing up your project beyond that. Keep it small at the beginning. Once you have achieved your goal you can take it from there. After all, making art should still be fun and rewarding.
Thanks a lot for reading! I hope you take a few useful tips from this article.